I'll be testing Nutshell out! When you see a link like :this, click on it to expand it.

Umami. is an open source analytics provider focused on privacy. This means you can see information about people who visit your website, like their country.
You can find Starly's analytics dashboard here !
Google Analytics has more metrics, but I didn't need a lot of their advanced features (who would have thought my tiny blog wouldn't need ad revenue tracking). And lack of privacy and GDPR non-compliant or something.
There's other Google Analytics alternatives, but they cost money, so I didn't read much of their websites.
If you're just here to figure out installing Umami without any extra bits, you'll be fine following only the bullet points.
Software Requirements
- i am using Ubuntu 23.10 on a Digital Ocean instance
- install Node.js, tutorial
- install PostgreSQL, tutorial
- you can also use MySQL with Umami, but this post uses postgres
actual install docs from umami are here
Install and run Umami
-
set up yarn
- run
corepack enable
We use Yarn (package manager, similar to npm) to install necessary packages. This is activated with corepack, which comes with our Node.js installation.
You can use npm instead, but I haven't tried it.
For more info, yarn installation docs are here
- run
-
set up umami
git clone https://github.com/umami-software/umami.gitcd umamiyarn
To set up Umami, clone the repo and run
yarninside, which looks at thepackage.jsonfile in the repo and downloads the packages specified there. -
set up postgres and connection string
- run
createdb --username=postgres --host=localhost umami - create a
.envfile in the cloned umami folder - put this line in
.env, filling in your Postgres's details:DATABASE_URL=postgresql://[USERNAME]:[PASSWORD]@[DB_LOCATION]:[PORT]/[DATABASE_NAME]- if this string is incorrect, it will show this :error
Use the
createdbcommand to create a database called umami. Then, put your connection string into a new.envfile so Umami knows how to connect to your Postgres instance and which database to put the metrics in.my :example string.
Note: If you've installed postgres for the first time, you may want to make another user besides the default (postgres), set a password, or change authentication methods.
- run
-
build Umami
yarn build- some optional things:
yarn next telemetry disableto disable Next.js telemetry- to change the port next.js uses (default is 3000), go to
package.json, changenext startto benext start -p [new port]
Running
yarn buildlooks at thescriptssection ofpackage.jsonand executes the commands found underbuild.Note: Building eats a lot of memory and the base Digital Ocean server may not have enough memory to run it without upgrading or configuring more swap (I learned the hard way!).
-
start Umami
- run
npm start - go to
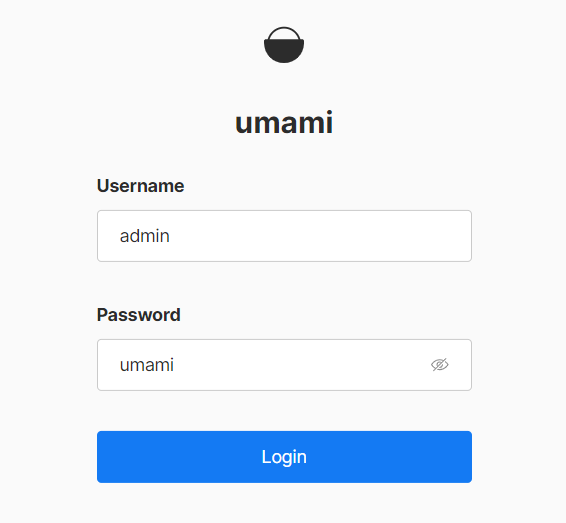
http://[IP]:3000/, where[IP]is the IP address of your server - log in
- username: admin
- password: umami
- log in :screenshot
- go to Settings -> Users to change your password
Optional: use PM2, a process manager, to manage your Umami instance. This makes it easier to start and stop Umami when it stops running, like when you restart your server.
npm install pm2 -gpm2 start npm --name umami -- start- make sure you're in the umami folder before running
pm2 save
These steps install PM2 globally, start the Umami instance with PM2, and saves the process in a list that you can easily restart later (with
pm2 start allandpm2 stop all) - run
-
set up site
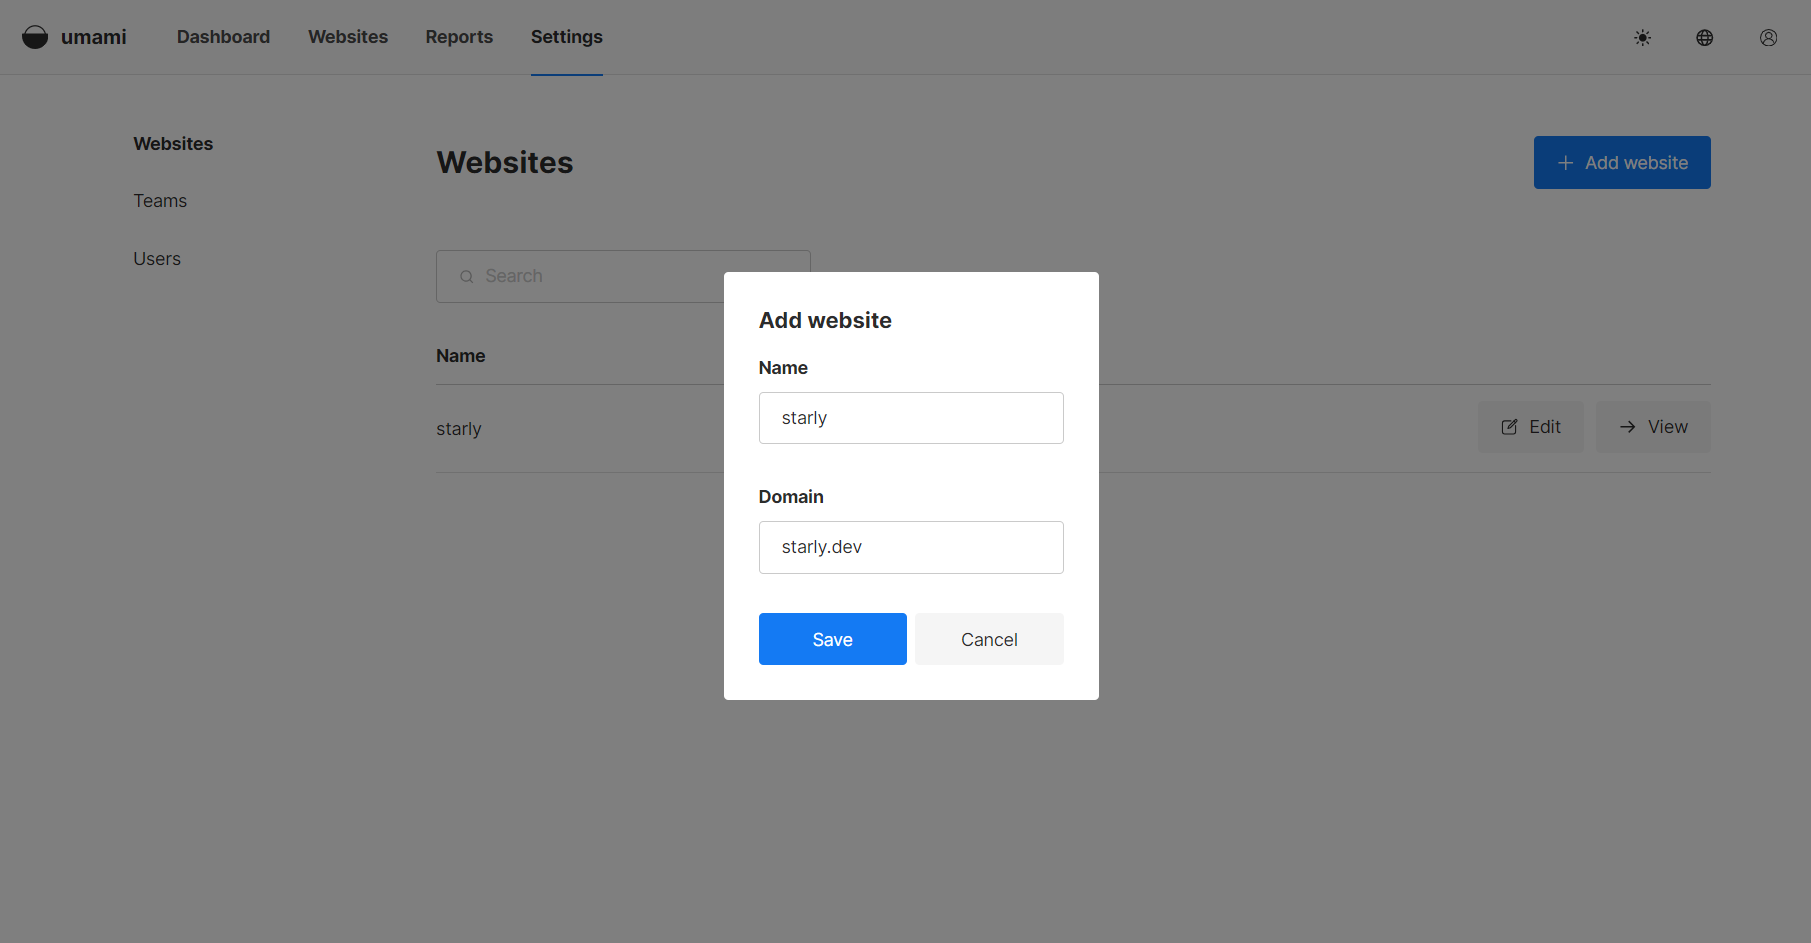
- in Umami, go to Settings > Websites
- click Add Website
- name: can be anything you want (e.g. starly)
- domain: your website domain (e.g. starly.dev)
- add website :screenshot
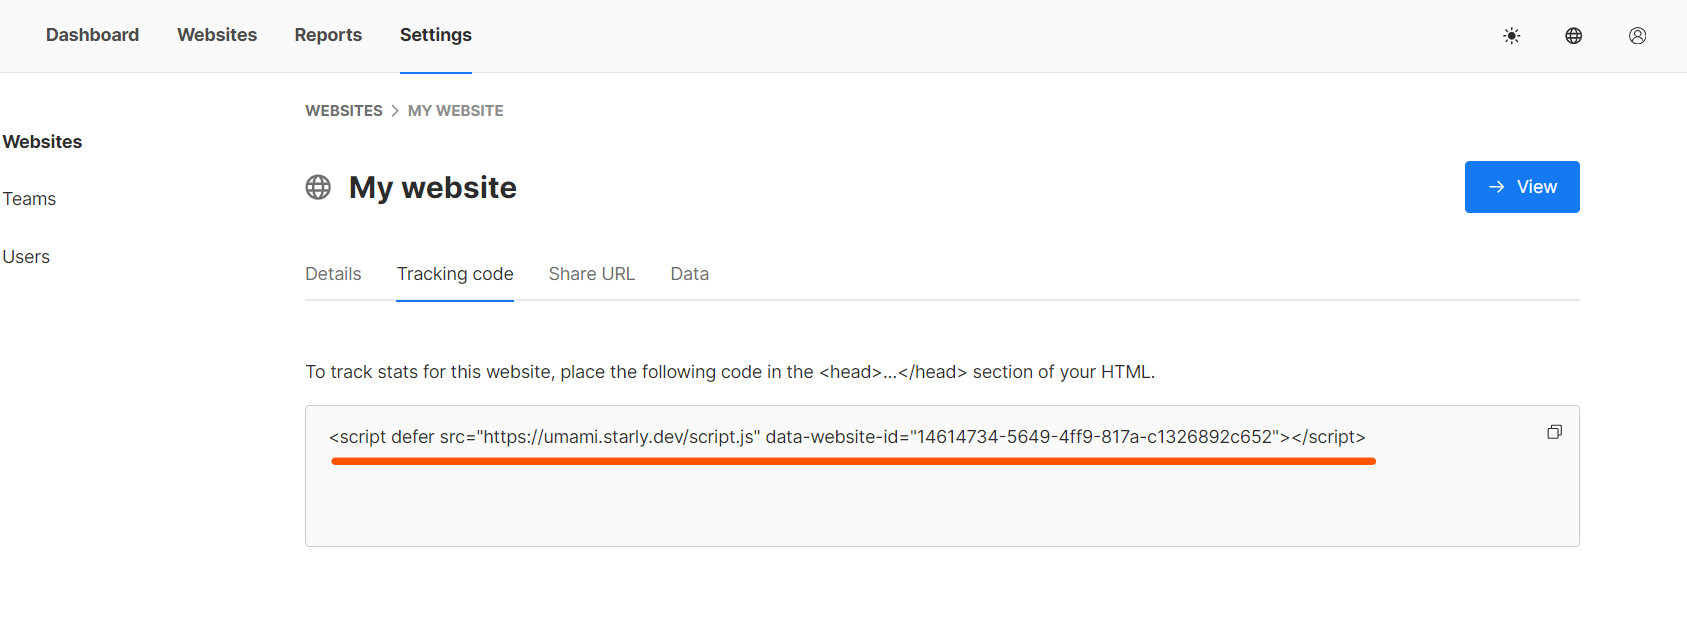
- click edit > tracking code
- copy tracking code and put it in the
<head>...</head>tag of each website page you want to track - tracking code :screenshot
- copy tracking code and put it in the
- optional:
- edit > enable share URL if you'd like to share the dashboard
- test by going to your website and seeing if the visitor count goes up
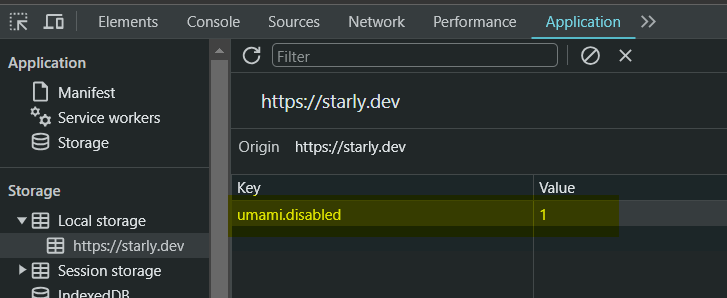
If you don't want to track your own visits to your website, you can add
umami.disabledwith a value of1.
There's other things to play around with like reports and insights, but I haven't gotten around to it yet.
At this point, you're done setting Umami up and have reliable metrics about your website!
There's more??
One other thing I did was set up umami.starly.dev as the domain to send (proxy) Umami requests to using Nginx. This means that you can access Umami at your chosen domain instead of http://[IP]:3000/.
If your website is hosted on the same server that you're running Umami on, you only need to add an Nginx configuration to change the domain. However, because I'm running most of the website on Github Pages, I also had to change my DNS settings to tell the internet where umami.starly.dev is.
If you want to use https, you will have to set up SSL certs on your server.
Nginx install tutorial.
Proxy Umami Requests
-
set up DNS so requests go to your server
(only needed if Umami and your website are hosted in different places!!!!!)- add a new A record to your DNS
- name: the subdomain you want to use
- e.g. use umami if you want to point to
umami.starly.dev
- e.g. use umami if you want to point to
- address: your server's IP address
- name: the subdomain you want to use
- :What should my DNS look like?
- add a new A record to your DNS
-
set up nginx config so requests go to Umami
- run
systemctl status nginxto check if nginx is running- if not, try
sudo systemctl start nginx
- if not, try
- go to
/etc/nginx/nginx.confand remove anylocation /blocks currently inside -
paste the following inside the
http { }blockserver { listen 80; listen [::]:80; server_name umami.yourdomain.com; location / { proxy_pass http://localhost:3000; proxy_set_header X-Real-IP $remote_addr; proxy_set_header Host $host; proxy_set_header X-Forwarded-For $proxy_add_x_forwarded_for; } } -
example of :
nginx.conf - run
sudo nginx -s reloadto reload config changes - go to
umami.yourdomain.comand check if it pulls up the Umami website
The config tells nginx to listen on port 80 (which is where internet traffic goes through). Now, when someone goes to
http://umami.yourdomain.com, nginx hears it and knows to return whatever is atlocalhost:3000to that person.If you can't access it, here are some :troubleshooting steps
- run
-
set up SSL certs
(only needed if you want https support!!!!!!):What's http/https? Why would I need an SSL cert?
There are two different ways to get an SSL certificate:
- Let's Encrypt
- Cloudflare
- If you're already using Cloudflare to manage DNS, it's easier to use Cloudflare
I have not used Let's Encrypt, so this guide only covers Cloudflare. Here are Let's Encrypt's directions:
- Getting Started
- Instructions for nginx and Ubuntu
Steps for using Cloudflare certs:
-
generate TLS cert
- login to Cloudflare, go to the TLS/SSL section (found on the left), then Origin Server
- click Create Certificate and don't change the options
- click Create to see your new certificate's information
- Note: do not leave the information page without copying your private key
- copy the Origin Certificate into
/etc/ssl/cert.pemon your server - copy your private key into
/etc/ssl/key.pemon your server- Note: make sure your certs don't have spaces or newlines
-
update nginx config
-
paste the following under your previous server block listening on port 80
server { listen 443 ssl http2; listen [::]:443 ssl http2; ssl_certificate /etc/ssl/cert.pem; ssl_certificate_key /etc/ssl/key.pem; server_name umami.starly.dev; location / { proxy_pass http://localhost:3000/; proxy_set_header X-Real-IP $remote_addr; proxy_set_header Host $host; proxy_set_header X-Forwarded-For $proxy_add_x_forwarded_for; } } -
example of :nginx.conf
- Now, you should be able to access Umami from
https://umami.starly.dev.
-
You can also change your tracking code to use
umami.yourdomain.com(you can copy the code again from Umami)
Updating
It's simple to update your Umami instance when a new version comes out!
cd umamigit pullyarnyarn buildnpm startorpm2 reload umamifor PM2
These steps fetch the update from Github, install any new dependencies from the update, rebuild Umami, and restart it.
How does Umami work?
How does Umami get data from visitors and put it into your dashboard?
When you put your Umami tracking code into the <head> tag of your website, the script.js file on your server gets called. The script gets information from http headers like which website page you're looking at and listens for any events that you've set up with Umami (such as button clicks).
Next, this information is sent to your database, and when you look at the dashboard, it pulls that information for you.
If you're using nginx, you may have noticed the following lines:
proxy_set_header X-Real-IP $remote_addr;
proxy_set_header Host $host;
proxy_set_header X-Forwarded-For $proxy_add_x_forwarded_for;
These headers are forwarded from the original request to Umami, so even if you're proxying the connection, Umami can still get the data it needs for analytics.
Summary
Overall, Umami is a great tool to get analytics about your website. Just install Umami from the Github repository onto your server and put your tracking code onto your website. If desired, you can set up a subdomain for Umami using Nginx.
:x note1
hi!
:x postgresNote1
DATABASE_URL=postgresql://username:password@localhost:5432/umami
- Postgres's default port is 5432, so use this if you have not configured another port
- Use localhost if your Postgres is on the same server as Umami; otherwise, use the IP of the server Postgres is located on
:x error
✓ DATABASE_URL is defined.
✗ Unable to connect to the database.
error Command failed with exit code 1.
:x swap
Swap is hard drive space used as RAM. Although it is much slower than actual RAM, it can be used when you run out of actual RAM. However, it will slow your system down a lot.
The following commands let you configure swap on your server, where count is the amount of memory you'd like to use for swapping.
sudo /bin/dd if=/dev/zero of=/var/swap.1 bs=1M count=1024
sudo /sbin/mkswap /var/swap.1
sudo /sbin/swapon /var/swap.1
- First command makes a file in
/varnamedswap.1with 1024mb filled with 0s (basically just allocating space for the file). - Second command formats the swap.1 file as a swap area.
- Third command tells the OS you'd like to start using the swap space
This change will not be permanent unless you add this info to your /etc/fstab file, which is where your OS references information about how to open file systems like USBs or where swap is.
Another parameter that can be configured is swappiness, which controls how often swap is used. It goes from 0-100: 0 means swap will not be used until the system runs out of RAM, and 100 means swap will start being used almost immediately. The default is 60, meaning swap will be used at around 60% of RAM usage.
This value can be checked with cat /proc/sys/vm/swappiness
More info here
Windows has a similar concept called page / pagefile; here is a good summary of both.
:x login
:X add_site
:x screenshot
:x disable
- go to your website and inspect element
- go to the Application tab
- go to Local Storage
- double click the next available space below
Keyand typeumami.disabled - add a value to it of
1
:x dns
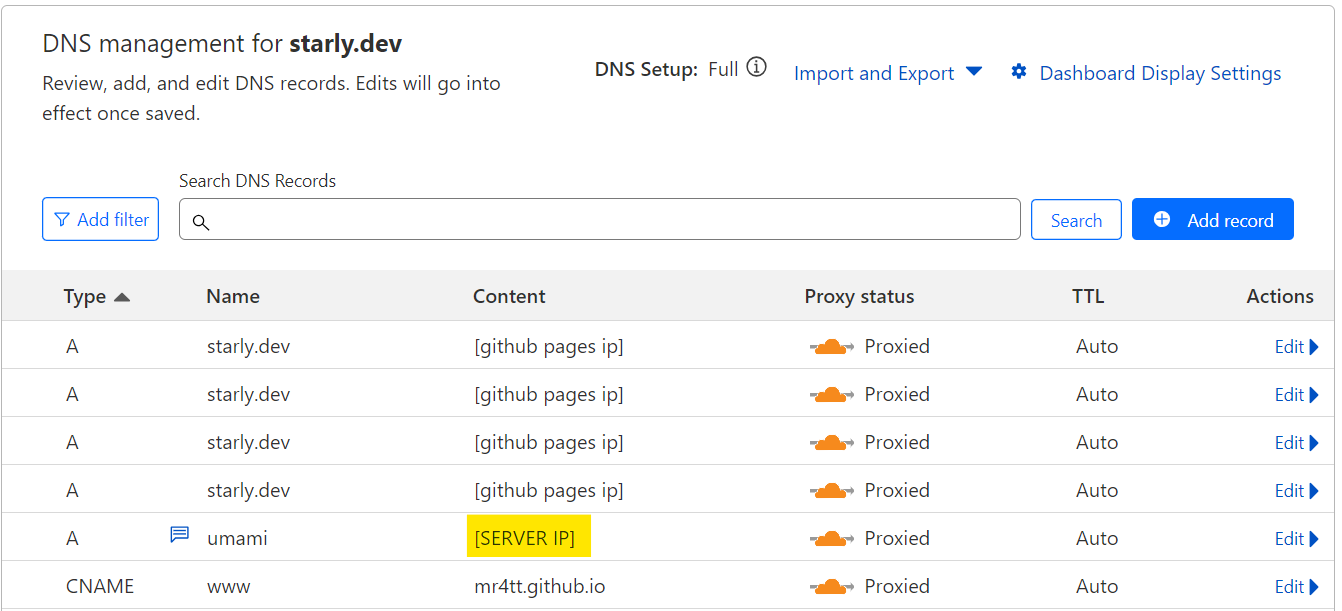
Note: I have the Github A records because I use Github Pages to host my website
:x nginx
user www-data;
worker_processes auto;
pid /run/nginx.pid;
error_log /var/log/nginx/error.log;

events {
        worker_connections 768;
}

http {
        sendfile on;
        tcp_nopush on;
        types_hash_max_size 2048;
        include /etc/nginx/mime.types;
        default_type application/octet-stream;
        ssl_prefer_server_ciphers on;

        access_log /var/log/nginx/access.log;
        gzip on;

        server {
            listen 80;
            listen [::]:80;

            server_name umami.starly.dev;

            location / {
                proxy_pass http://localhost:3500/;
                proxy_set_header X-Real-IP $remote_addr;
                proxy_set_header Host $host;
                proxy_set_header X-Forwarded-For $proxy_add_x_forwarded_for;
            }
        }
}
:x troubleshoot
- run
sudo nginx -tto check for syntax errors (should say OK) - check
/var/log/nginx/error.logto look at logged errors - run
systemctl status nginxto ensure nginx is running - run
sudo ufw statusto check if your firewall is allowing connections in/out
:x https
http is a way for computers to fetch the website data you've requested. https is the same protocol, but there's an extra layer of security on top.
When you go to a website with https, your browser checks the website's SSL certificate. Your browser does a TLS handshake, which is an exchange of encryption keys between you and the website's server made possible by the SSL certificate's information.
Now, your browser can encrypt your data using these keys so that only you and the website can read your data. The certificate also ensures the website you're going to is who they claim to be.
:x nginx2
user www-data;
worker_processes auto;
pid /run/nginx.pid;
error_log /var/log/nginx/error.log;

events {
        worker_connections 768;
}

http {
        sendfile on;
        tcp_nopush on;
        types_hash_max_size 2048;
        include /etc/nginx/mime.types;
        default_type application/octet-stream;
        ssl_prefer_server_ciphers on;

        access_log /var/log/nginx/access.log;
        gzip on;

        server {
            listen 80;
            listen [::]:80;

            server_name umami.starly.dev;

            location / {
                proxy_pass http://localhost:3500/;
                proxy_set_header X-Real-IP $remote_addr;
                proxy_set_header Host $host;
                proxy_set_header X-Forwarded-For $proxy_add_x_forwarded_for;
            }
        }

        server {
            listen 443 ssl http2;
            listen [::]:443 ssl http2;
            ssl_certificate         /etc/ssl/cert.pem;
            ssl_certificate_key     /etc/ssl/key.pem;

            server_name umami.starly.dev;

            location / {
                proxy_pass http://localhost:3000/;
                proxy_set_header X-Real-IP $remote_addr;
                proxy_set_header Host $host;
                proxy_set_header X-Forwarded-For $proxy_add_x_forwarded_for;
            }
        }
}